We started planning a birthday bbq for C's birthday, and then we realized that we didn't have much for kids in way of yard toys- so I started brainstorming what I could do that would be fun.... so I started browsing Pinterest and party ideas. I found a few posts on pinatas and thought I'd give it a try. Keep in mind that the last time I've done anything even remotely close to this when waaaay back in 5th grade making a paper mache mask, haha. Anyway, here's a quick tutorial of what I did. It's time consuming, but really easy to do!
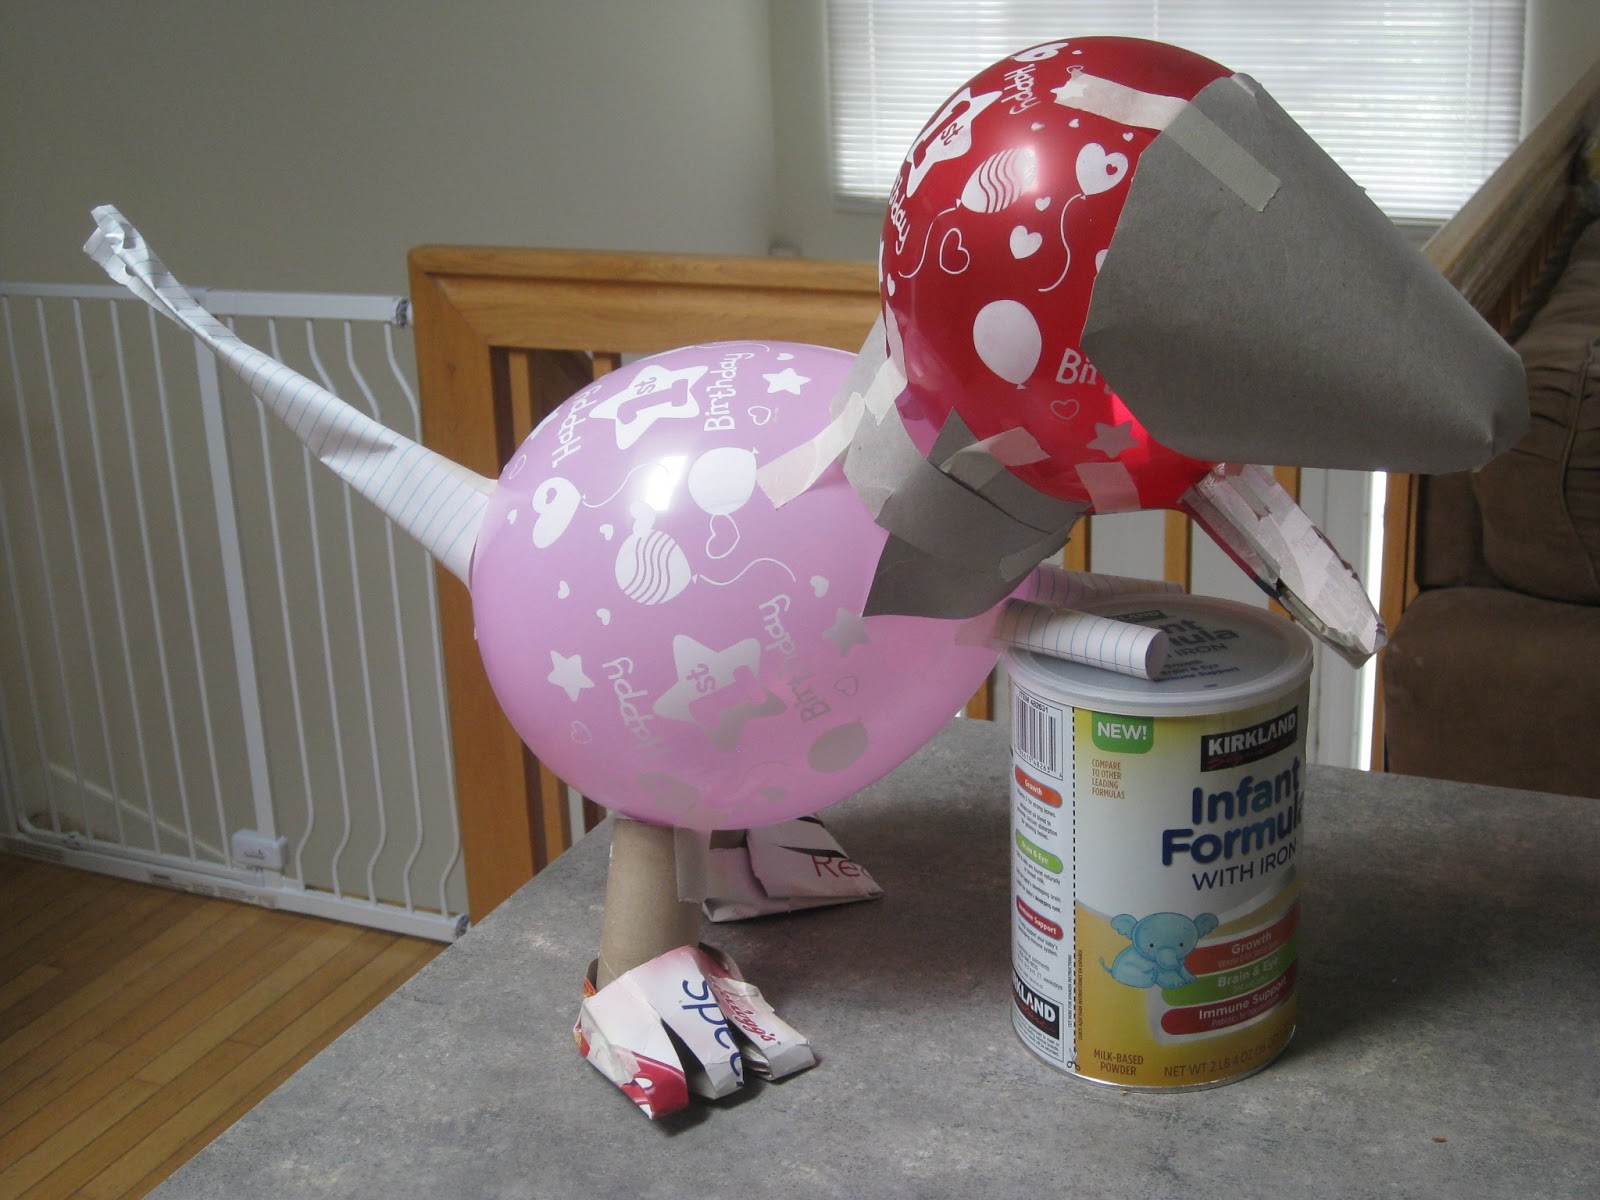
I started trying to make a basic shape of that I wanted it to look like. I was going for a dinosaur. Ya, I know, probably not the best thing to start out on, but whatever. I used 2 balloons, 2 empty toilet paper for the legs (I only had one, so I actually unrolled half a roll to get a second one, might have helped if I planned ahead, haha) and then just rolled up paper to make the hands and tail. (I wouldn't necessarily recommend this because it does get wet and soggy really easy, but it did work). I used masking tape to tape it all together.
Step 2: I fashioned some feet out of an empty cereal box. {again, the planning ahead thing... I may or may not have had to finish off a box of cereal in order to do this....}
Step 3: I gave a third balloon to my son because he wanted the two I was using :)
I used the cereal box again to create the face and body shape. This doesn't have to be perfect because it is really easy to add detail when you're covering it.
Now the fun and messy, time-consuming part! Making the goop!
Super simple recipe:
2 parts water to 1 part flour
or
2 cups water mixed with 1 cup flour
If its too runny just add a little more flour. I like it more on the runny side because it dries faster.
Get a good chunk of newspaper {also failed on this too, garbage day and I threw mine away... thank heaven for friends who have a stash! wow, this is making me sound extremely unprepared....} and cut it into strips, I'd say about 2 inches wide, whatever you find works best for you.
Dip your newspaper into the goop and get it all covered and coated. Then, run your fingers down it to squeeze or wipe off the excess. The less of the goop left on the paper, the less time to dry. It does all need to be moist though or it won't stick.
This is what mine looked like with one full layer. Make sure your work around the object that you are covering evenly.... if you don't it will tip over. I even knew that, but I was reminded the hard way.
Do a couple layers. This is one is my third layer. This is where I added in more of the molding features. It's all just newspaper just like the layers, I just bunched it up to make the shape I wanted. Then, I added a layer over the top so that it would be smooth.

Way back in 5th grade, we painted our masks or used crate paper and made them look all frilly, but I didn't want that, I wanted a dinosaur! So, I used tissue paper and modge podge. It really doesn't get any easier. I cut my tissue paper into small square and starting gluing them on. I didn't take care to make them perfectly smooth because it didn't need to be, but you could if you wanted to. It does take quite a few layers of tissue paper to make it non-see-through. Again, didn't care too much, seeing that is was going to be destroyed in probably less than 5 minutes and it had already taken hours so far. At this point you can see that I left the top uncovered. Here is where I cut a hole for my string and cut a hole to stuff candy in. Just make sure you patch it up really good and then cover it the same as you've done the rest.

The end product!! I added a few more details, still out of tissue paper. I know it's not the best pinata I've ever seen, but I thought it was pretty good considering! Cameron loved it and stick his hand in it's mouth all the time. It took a while to make, but it really was fun to do.